
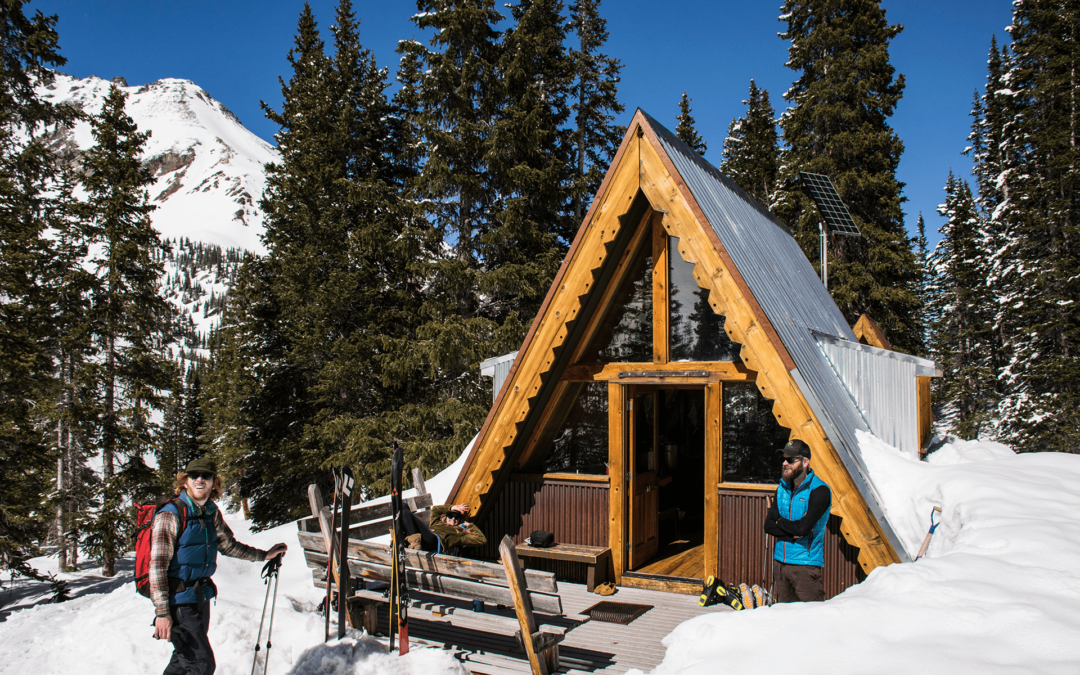
You’ve probably heard 10th Mountain Division hut trips are the must-do winter trip in Colorado: snow, food, friends, wine, and a wood burning stove… and lots and lots of stars. It’s certainly not an experience to be missed, especially if you love the quiet solitude only high mountains and great expanses can give you.
The question then becomes, where do I start? What do I need to know? How do I prepare for my first trip? Below are the seven things I wish someone had told me prior to planning my first Colorado hut trip.
1. Start within your comfort zone
I bit off more than I could chew on my first trip. The length was not an issue but the climb certainly was. It hurt. My legs were on fire. I panicked when I thought about just turning around. Thankfully I didn’t but it certainly crossed my mind more than once.
Before reserving spots at a hut, evaluate your skill-level, experience, and fitness in regards to approach length, elevation gain, and route-finding. There are some huts that lend themselves to first timers, including many that are three miles or less with a gradual approach and easy-peasy navigation. The Continental Divide Cabin (0.8 miles), Point Breeze Cabin (0.8 miles), Broome Hut (1 mile), Shrine Mountain Inn (2.7 miles), Vance’s Cabin (3.1 miles), and Sangria M. Froelicher (3.1 miles) are all good places to start.
There are also several options if you’d like a bit more of a challenge. There are multiple routes to Francie’s Cabin including a short but very steep route from Spruce Creek Trailhead (1.8 miles). The 10th Mountain Division Hut is a gradual climb but a bit longer at 4.4 miles. And, there is Janet’s Cabin (also 4.4 miles) where you will be rewarded with high bowls, Searle Pass, a wood burning sauna and, if you’re lucky, a lift at Copper Mountain to reduce the length of your hike.
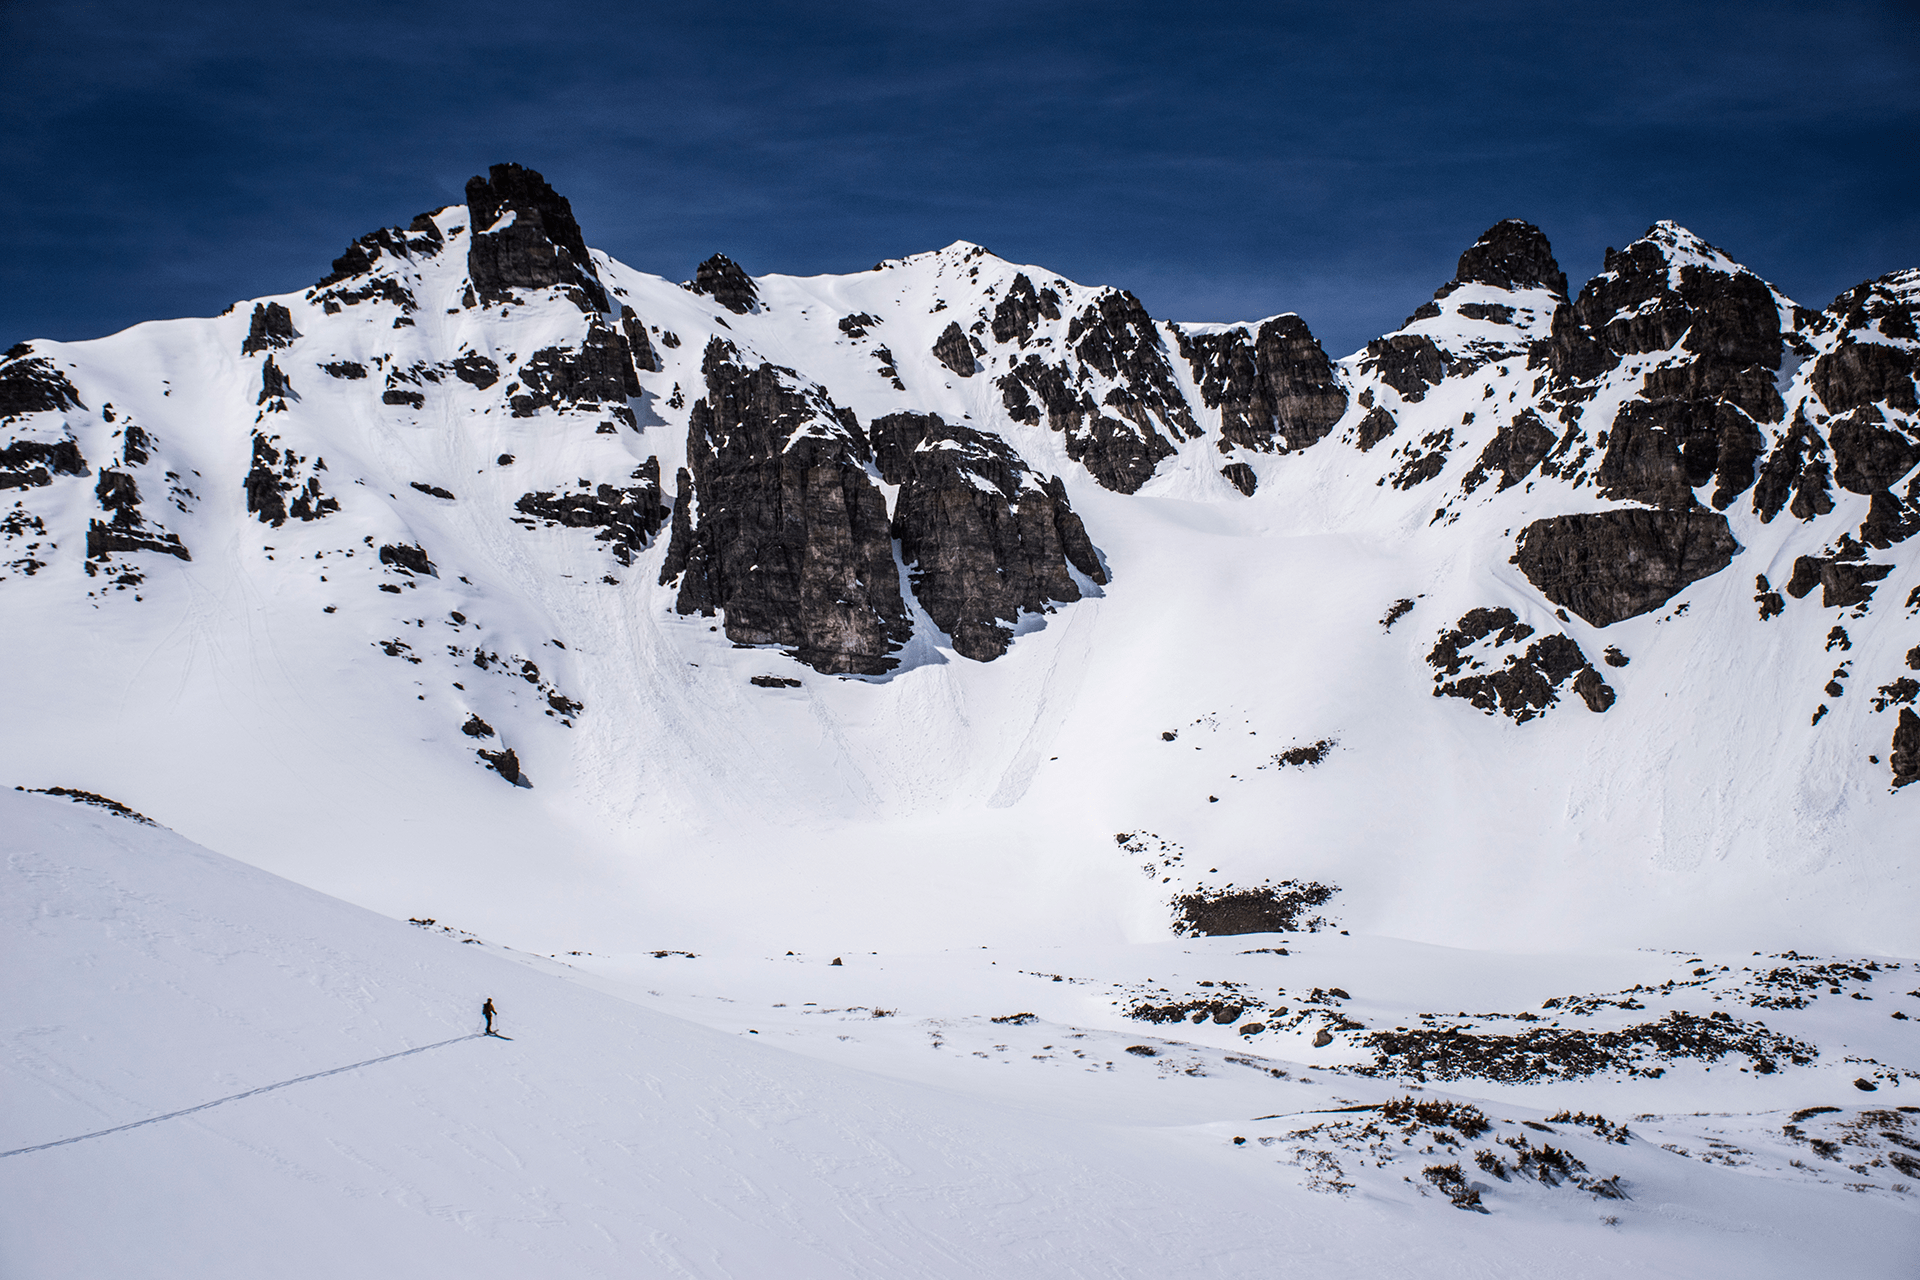
????The Tagert and Green Wilson Huts sit at tree line in Pearl Basin. The route to the Braun Huts crosses through numerous large avalanche paths.
2. Safety first
Let’s talk safety. A hut trip can easily become dangerous. There’s simply a lot of things that can go wrong. Most huts are well above 8,000 feet making altitude sickness a real threat. Many routes are not well marked and can be especially difficult to follow after new snow. Avalanche hazard is a serious concern as many routes pass through terrain that is prone to slides. And, weather can change in a heartbeat turning an easy route into a whiteout nightmare.
The good news is, you can easily mitigate many of the risks with careful planning. For starters, make sure at least one person in the group has wilderness first aid, route finding, and avalanche safety skills. Carry two-way radios when parties are more than a few people, allowing smaller groups moving at different paces to communicate. Carry a topographic map and compass, and know how to use them. Pack a repair kit (don’t forget to include duct tape and zip ties, ‘cause broken bindings do happen) as well as a first aid kit.
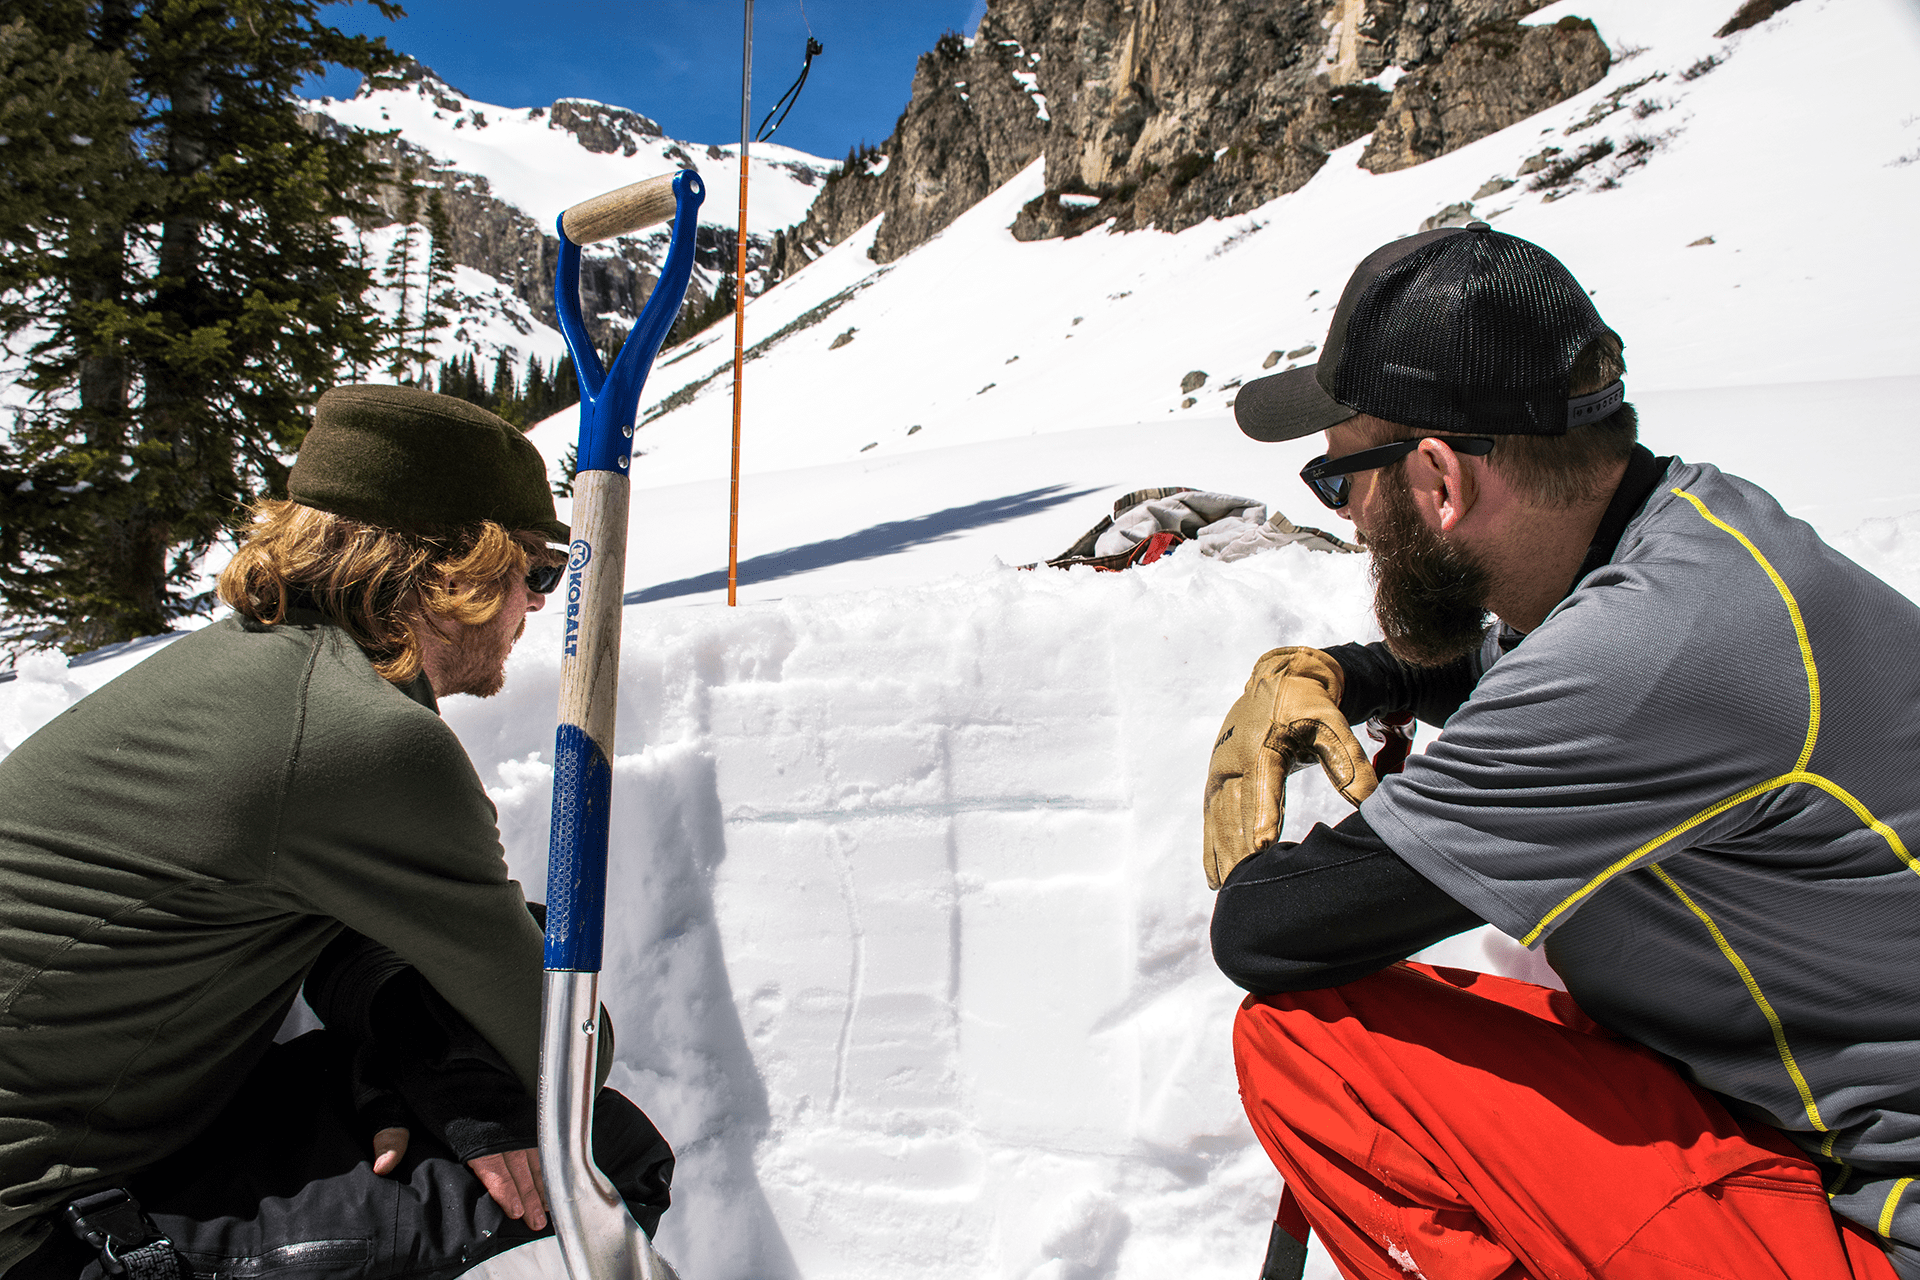
????Follow proper safety protocol whenever traveling through avalanche terrain.
If you’re traveling through avalanche terrain, bring avi gear including a beacon, shovel, and probe at a minimum, but avoid routes with avalanche terrain if you have no training in avalanche safety. Pack so you are prepared to spend the night outdoors incase you do not make it to the hut (yeah, it happens) or be willing to throw in the towel if things get out of hand. And, most importantly, study your trailhead and route prior to the trip and pay special attention to weather reports and avalanche conditions before taking off.
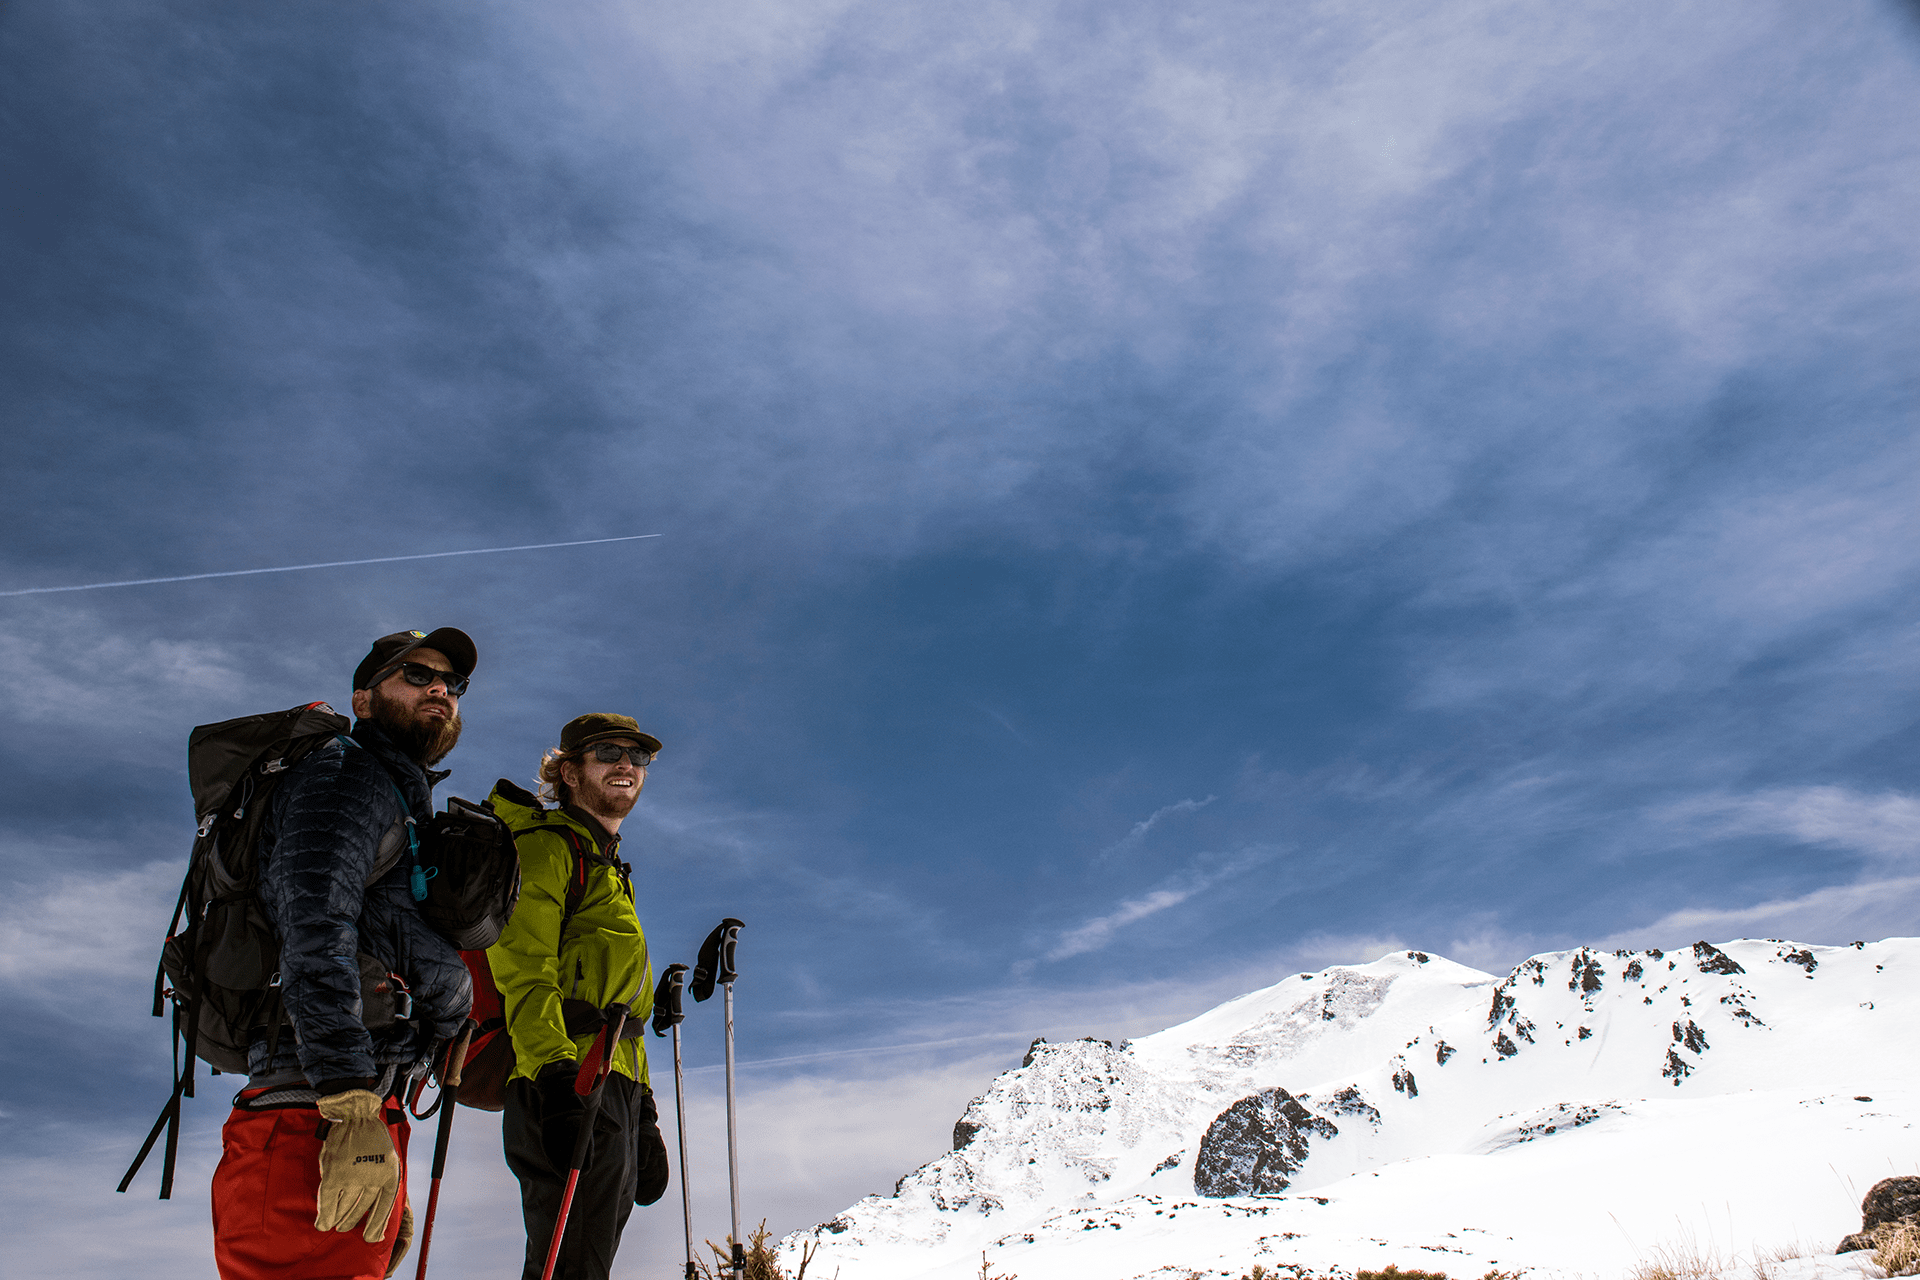
????Craig and Sara get prepared to go out for a ski tour around Uncle Bud’s Hut located above Turquoise Lake.
3. Improve your fitness
“Go on a hut trip,” they said. “It’ll be fun,” they said.
Let’s be honest. A hut trip is physically demanding. Not only are you traveling uphill in the backcountry, you are carrying a heavy pack, slugging across uneven terrain with skis or snowshoes on your feet, and there’s a good chance you’re carrying a gallon of wine. It’s time to just say “no” to suffering and get physically prepared so the entire trip is a blast… not just the part ‘after’ the hard work is done.
The best way to do this is with a training schedule starting three to four months prior to the trip. Shoot for 45 to 60 minutes of cardio two to three times a week. Include some interval training and strength training. Also, do a few hikes while you are waiting for the fun to start. Your body with thank you for it.


4. Have the right gear
(and know how to use it)
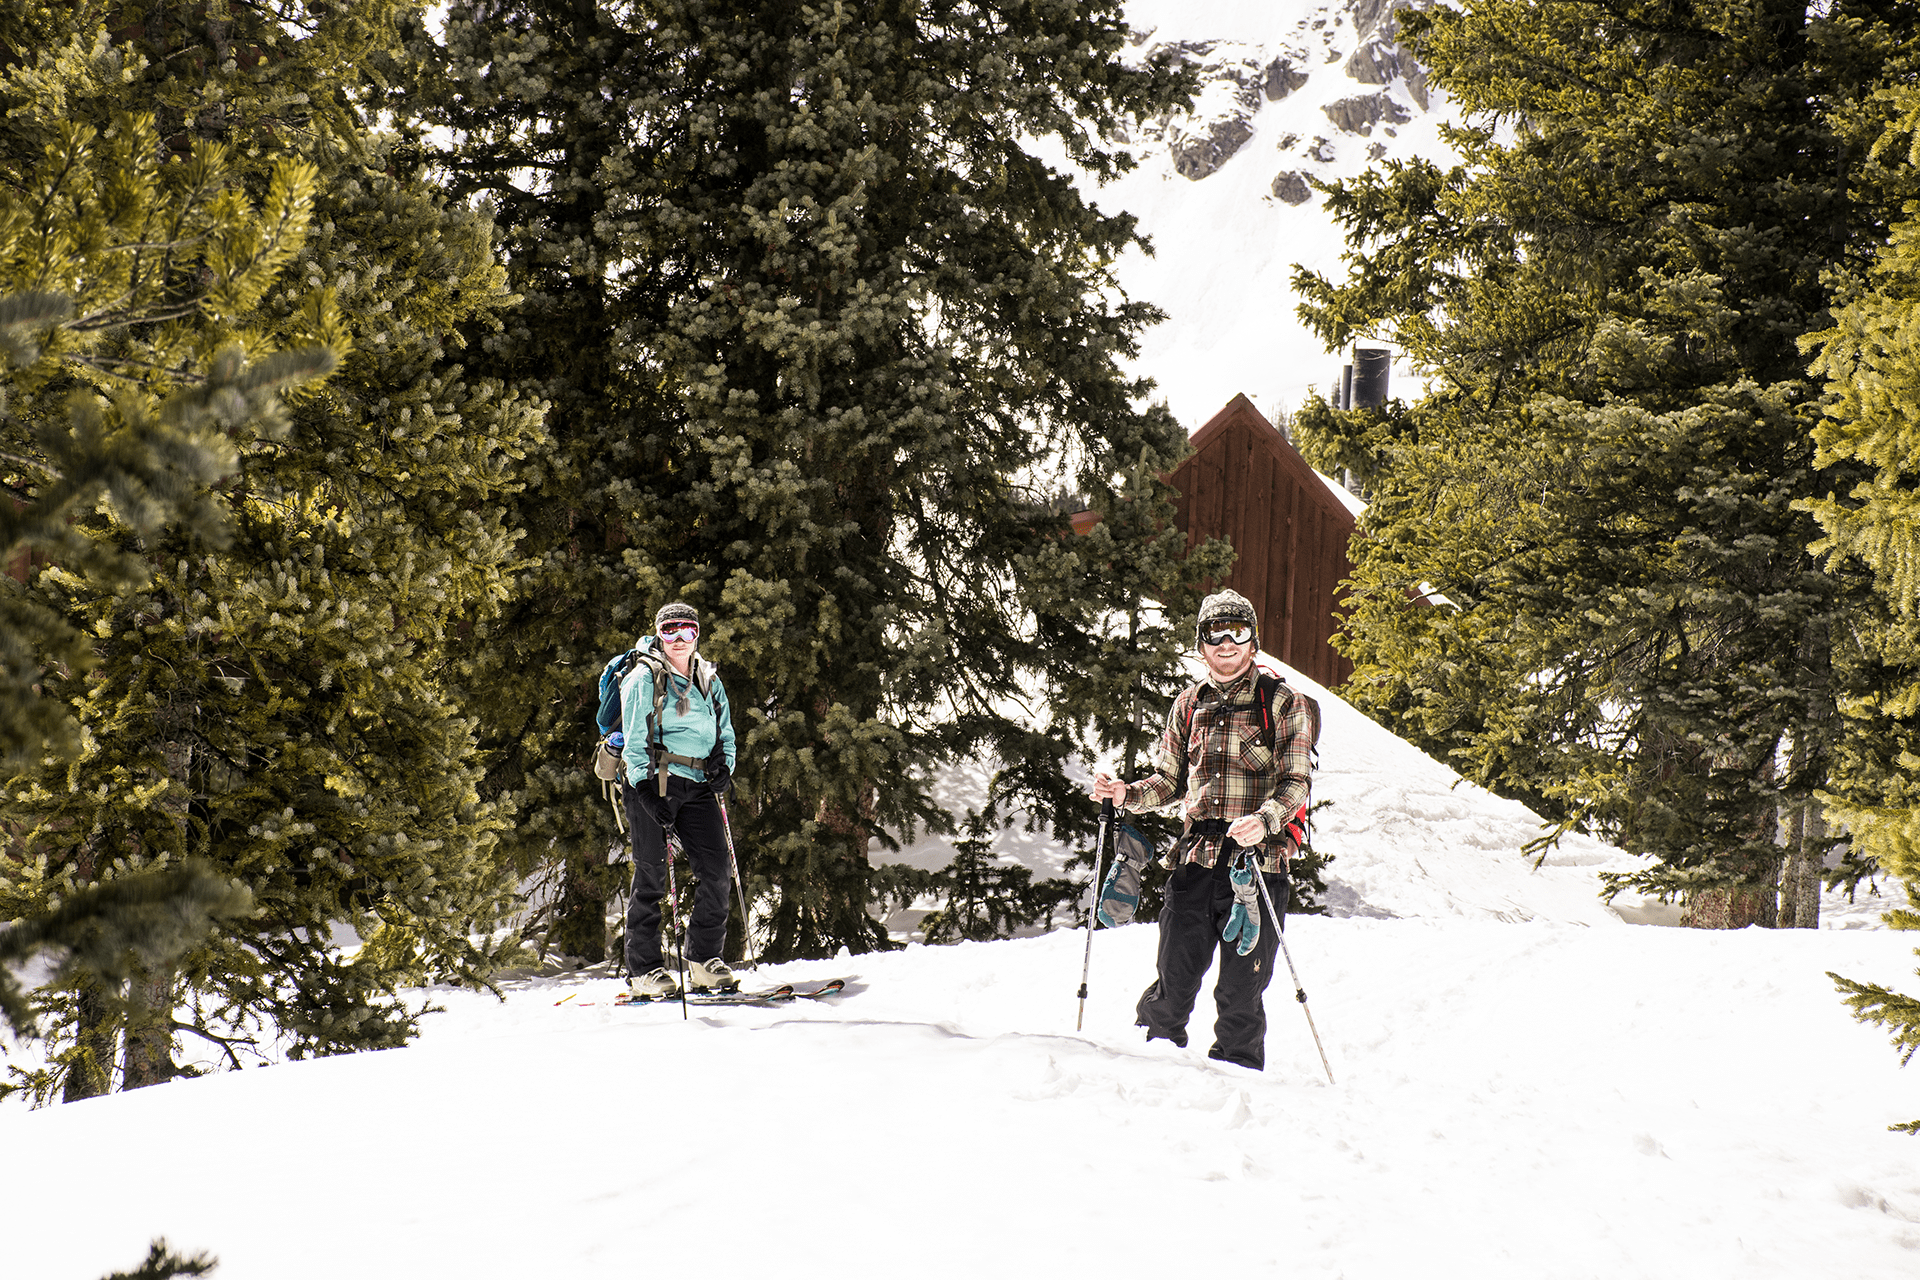
There are a variety of ways to travel to the hut. Pick one you’re comfortable with. Snowshoes are a great option if you’re not a strong skier or not comfortable skiing with a large pack. Otherwise, skis with an alpine touring or telemark setup or a spit board will give you the option to explore and ski terrain around the hut. Don’t forget skins! Cross country skis are adequate for some huts with gentler approaches but are generally less stable with a large pack. Do research on the route before setting your heart on cross country skis.
Is your gear new? Don’t try it out for the first time on this trip. Just don’t. Your shiny new AT boots may rip up your feet and that’ll cause you to go through $30 worth of Moleskin. Not to mention, it’ll make the hike to the hut miserable. Also, you’ll want to know how to use your gear. Nobody wants to be the one asking trip mates how to switch their ski setup to touring mode.
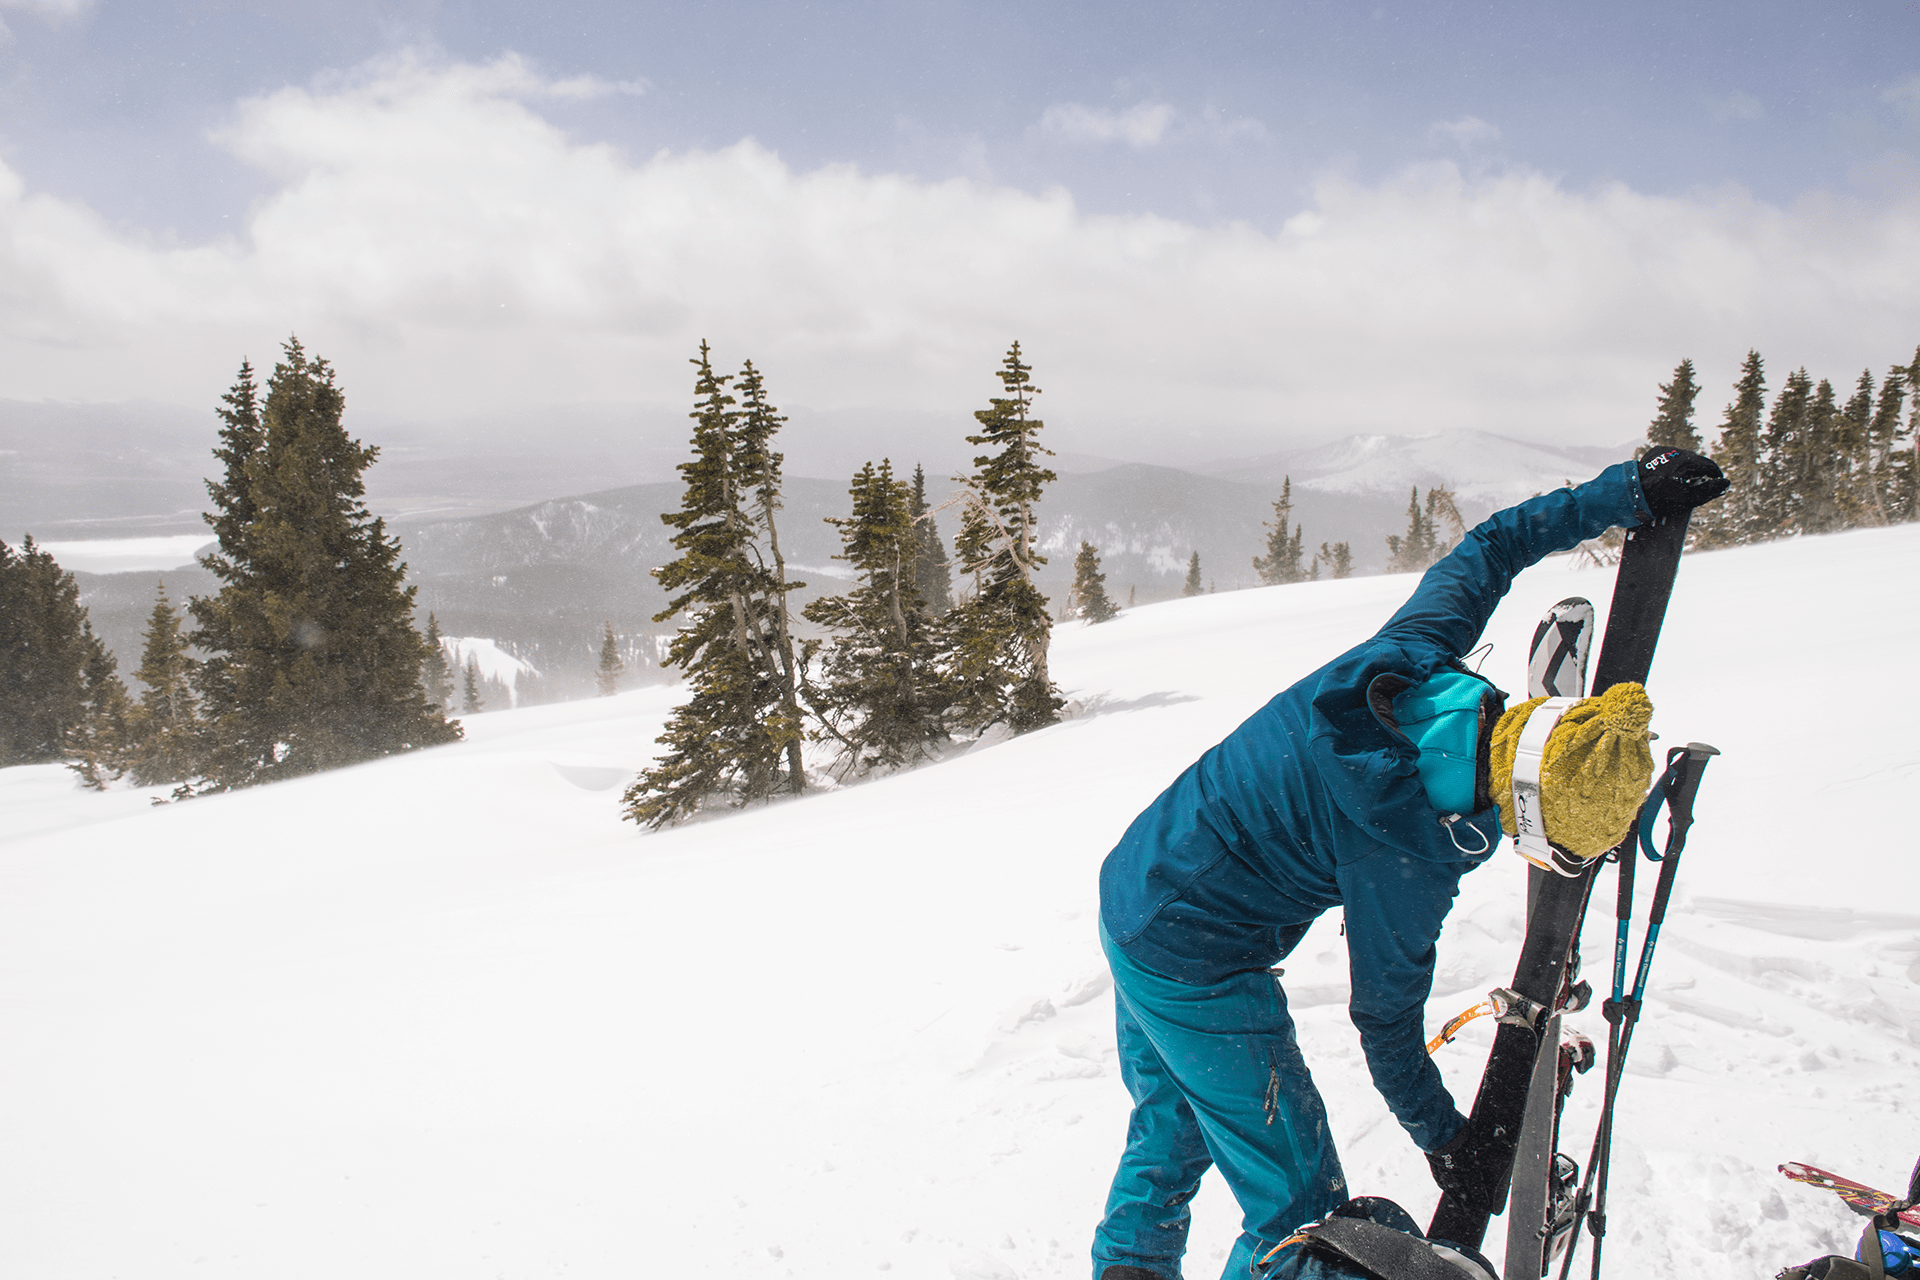
????Removing skins above Uncle’s Bud’s Hut.

????Get those veggies chopped, noodles repackaged, and sauces frozen before hitting the trail.
5. Prepare the feast
Now for the fun part. Maybe you heard “a hut trip is a dinner party with a ski trip attached.” Maybe that’s the reason you signed up. The reality is… it’s true.
Not only is planning communal dining more fun, it’s just easier. With large groups, prepare a schedule ahead of the trip where smaller groups are responsible for hauling, preparing, cooking, and cleaning up one meal. As an example, I’ve been on several two night trips with 16 people where groups of four were responsible for the entirety of one breakfast or dinner. That way four total meals are covered and all you have to do is think about lunch and snacks outside of the one meal you are expected to plan with your three meal-comrades.
When you are part of a smaller group and sharing a hut with people you don’t know, be considerate with meal planning and coordinate cooking times as much as possible. Keep the kitchen space clean and tidy.
One thing I’ve learned over the years is to prepare as much as possible at home prior to the trip. It’ll get you in and out of the hut kitchen quicker with less mess. Repackage all foods to cut down on the amount of trash you have to haul out (yes, you have to haul out all of your trash). Chop veggies ahead of time. Freeze and double bag sauces and marinades. Measure out spices. Also, carefully consider portions. We once had to haul out three pounds of cooked spaghetti because we WAY overestimated our groups ability to eat.
6. Pack smart (or not)
My first hut trip I overpacked. Way overpacked. It was only 4.7 miles… with 2,500 feet of elevation gain! I was sure the Jackel Hut was just a mirage as I crawled across that last quarter mile. To add insult to injury, the Travel Scrabble did not get used, I didn’t wear all the extra clothing I brought, and it took work to finish all the wine I lugged up that steep trail. Needless to say, trip number two I shed quite a bit of weight. Hello bourbon!
Packing is a matter of proper planning. Are you traveling 10.5 miles to the Skinner Hut or are you skipping the 0.8 miles to the Continental Divide Cabin? It the answer is the prior, just leave the Travel Scrabble at home, and possibly, half of the wine. If the answer is the former, pack that 24 pack as well as the package of ready-bake cookies!
Review 10th Mountain Division Hut Association Winter Suggested Equipment List to further help you prepare for your trip.
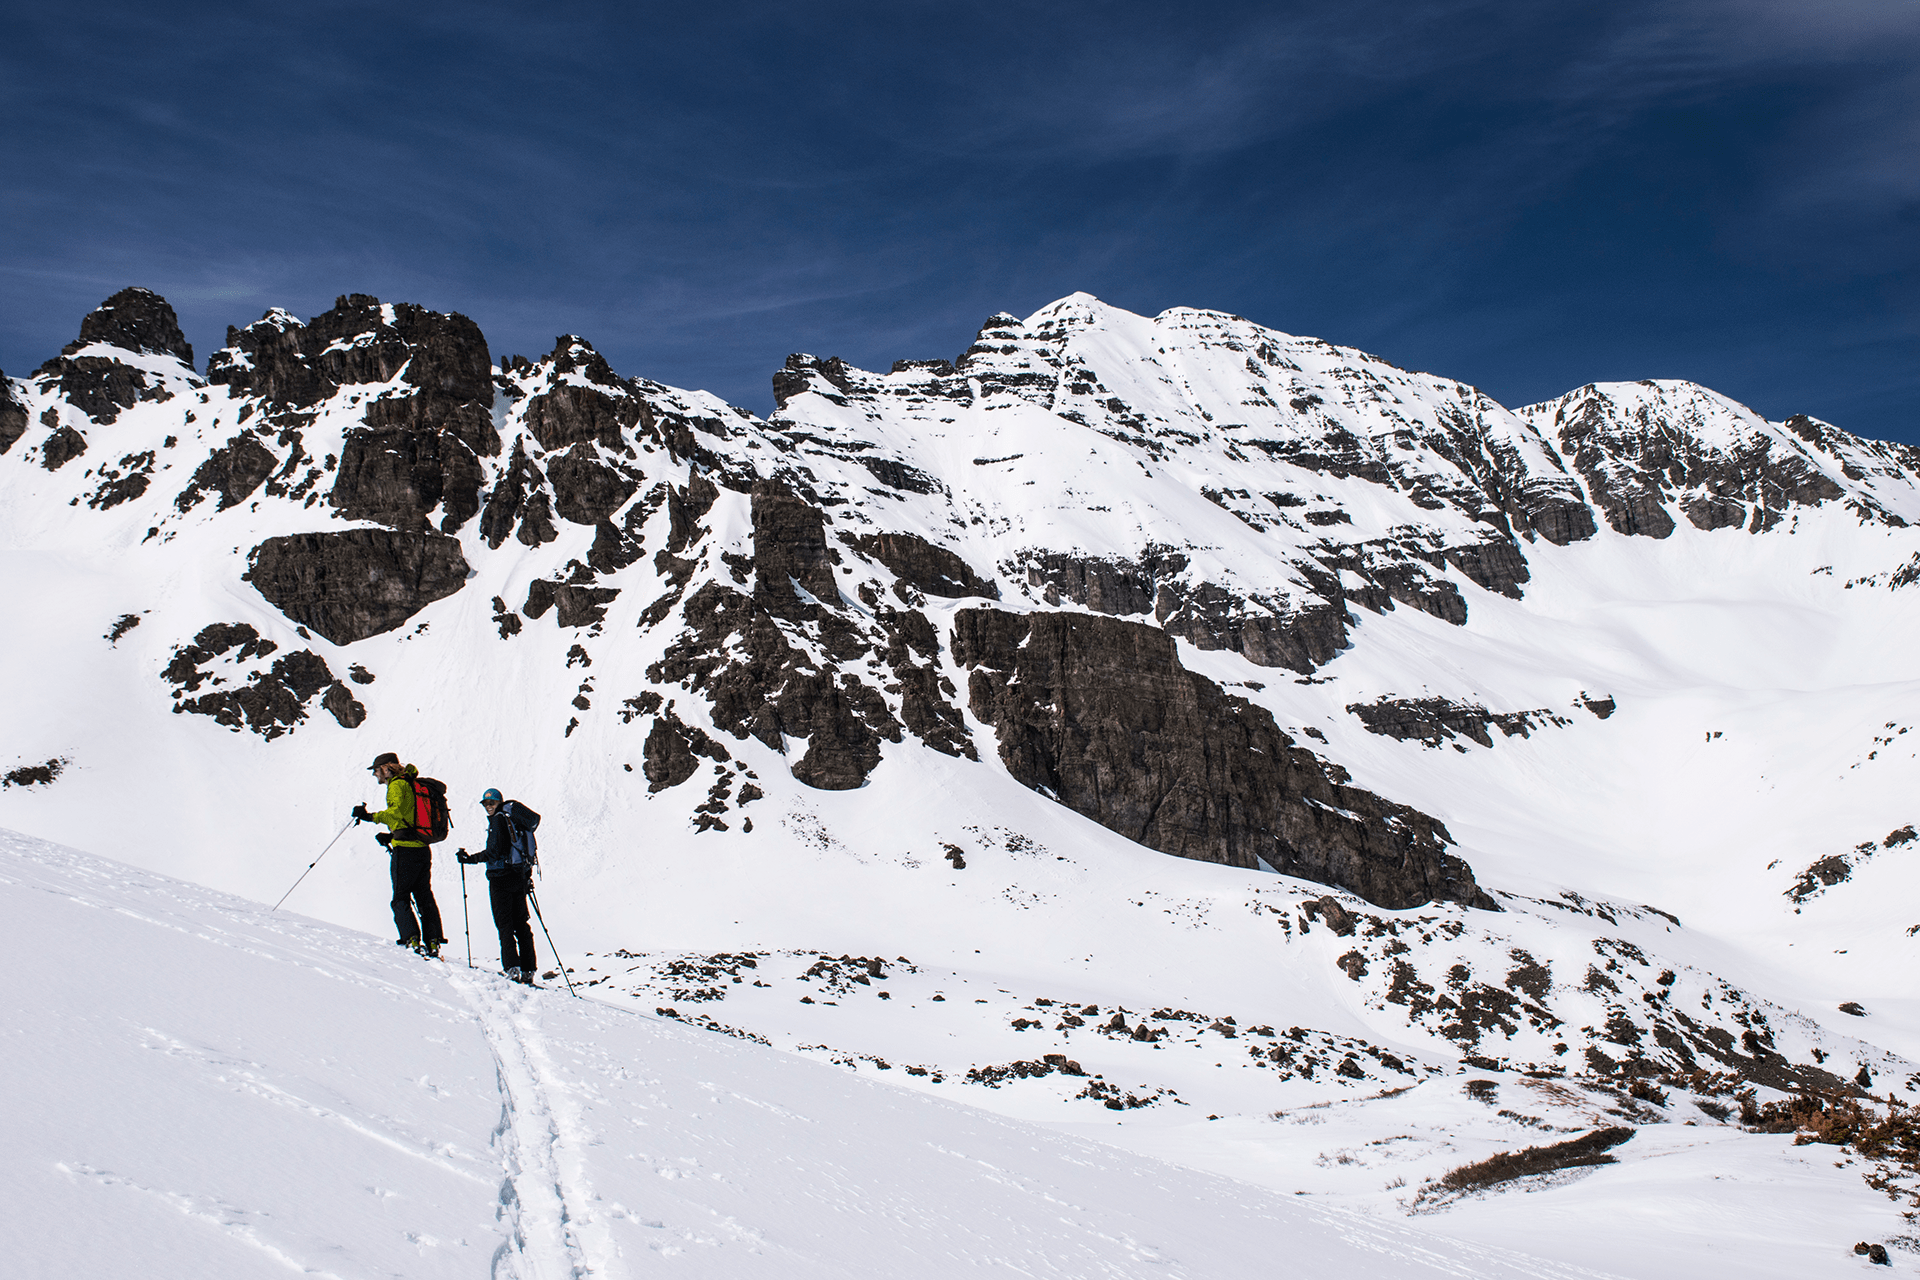
????Brent and Craig scope out a route in the bowl above Tagert Hut.
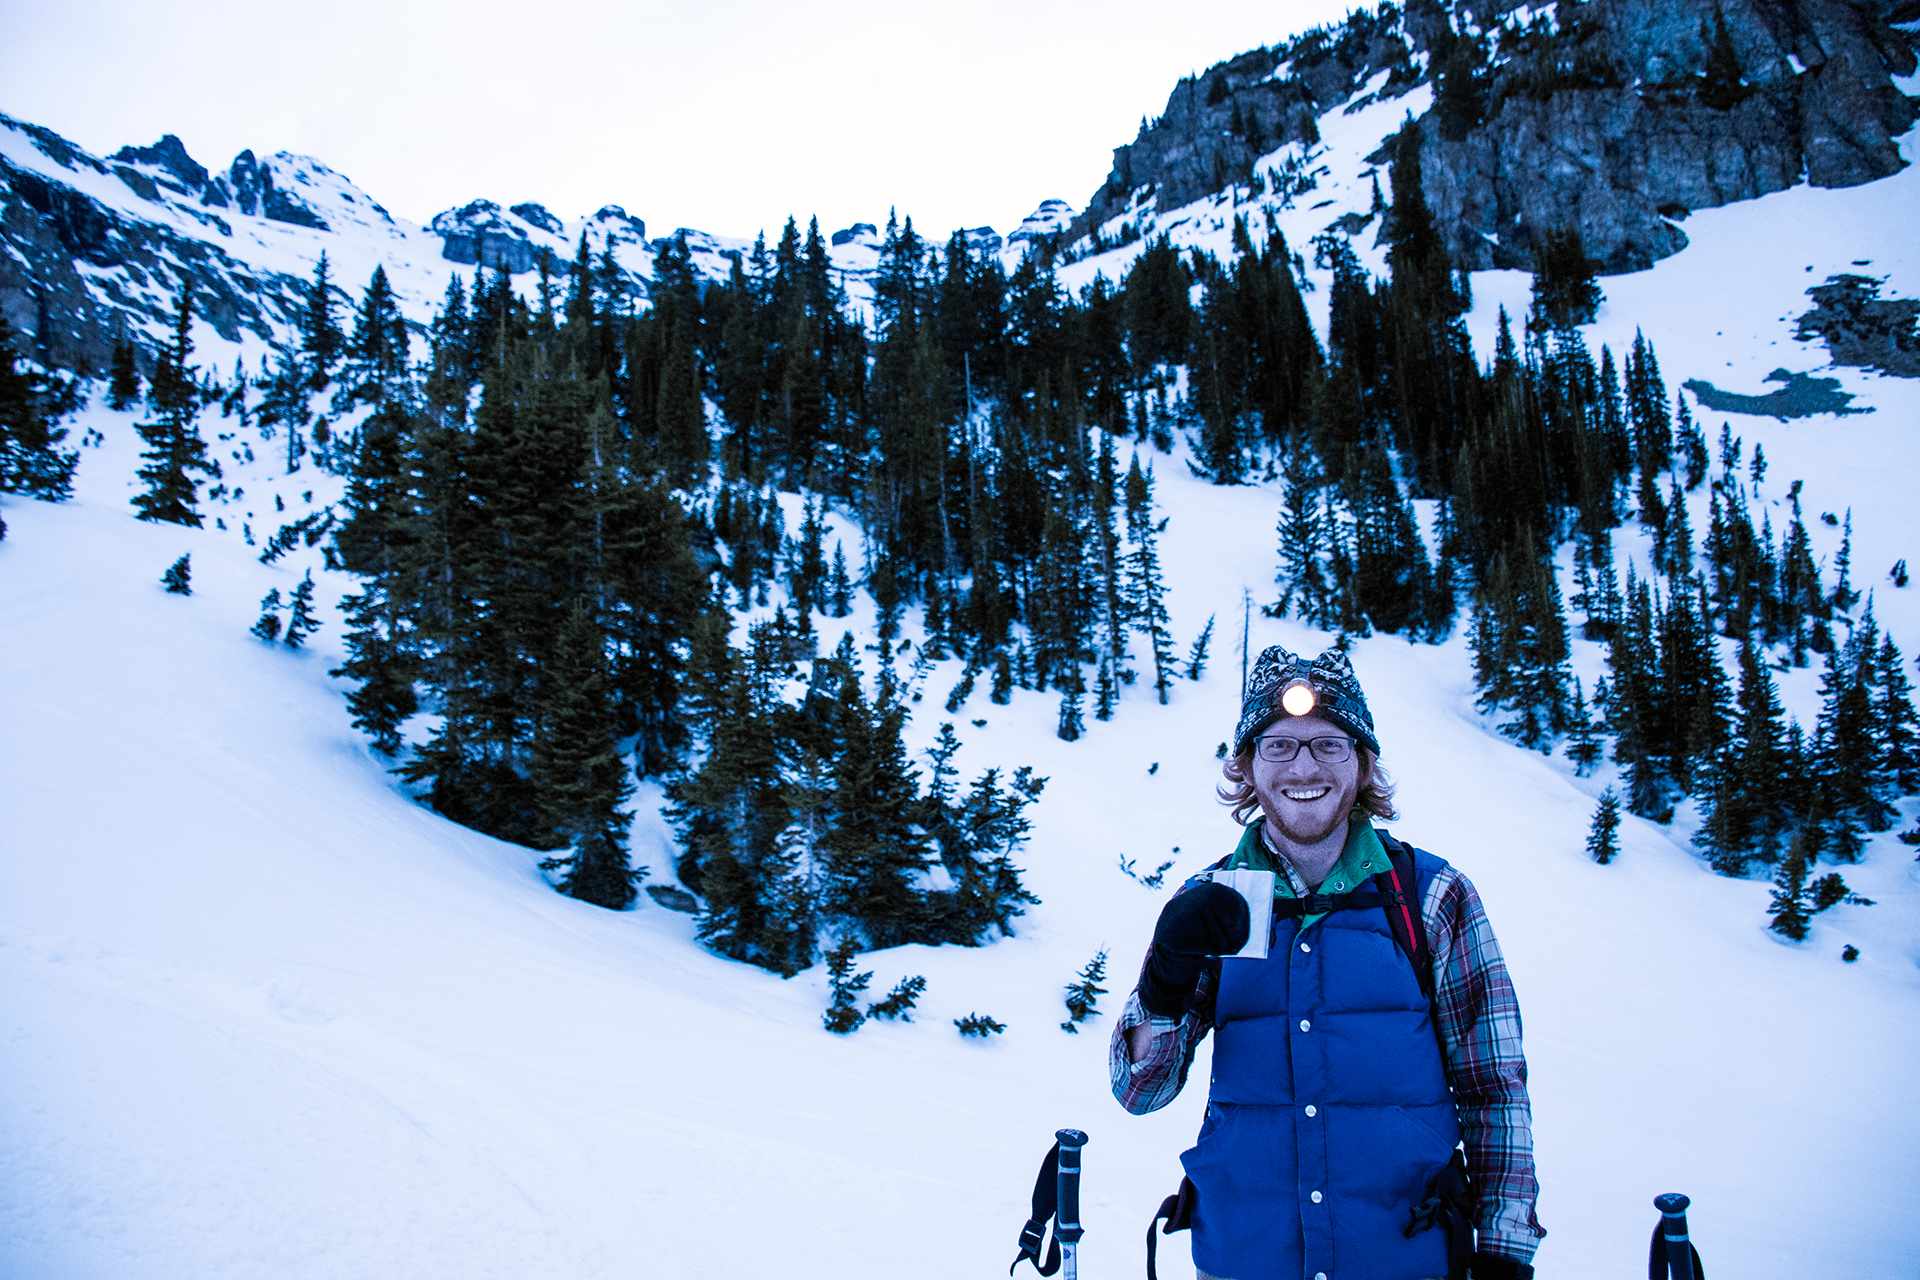
????Don’t forget that flask of bourbon!
7. Get an early start
Not a single person who plans a night in front of a wood burning stove with a huge meal in their belly, a cocktail at altitude, and a merry group of mates wants to end up hunkering down in the snow, lost, late, or stuck. But, the reality is, it happens. The best way to avoid sharing a bag to stay warm, is to start early.
Plan for an hour per mile. That way, if the trail is unpacked, you get lost, or a storm rolls in, you have plenty of daylight to make it to the hut. And, hey, the worst that could happen with an earlier-than-expected arrival is a longer happy hour with a never-ending view. Get that beer chilled!
Cheers!
About the Author & Photographer
Whitney P. Schuettpelz
Whitney is equal parts outdoor junkie, vegan foodie & designer of things with a passion for mountains, beets & architecture in no particular order. She can usually be found on Colorado’s sunny slopes with her dog Sloane and partner-in-crime, Brent.
Follow Whitney at www.whitenyschuettpelz.com or on Instagram at @whitneyschuettpelz.